Whether you’re stranded in a parking lot with a dead battery or the good Samaritan who stopped to help, properly jump starting a car can save time and money. The process is relatively straightforward, but there are a few things you need to get right. For a fast and safe jump start follow these 10 steps.
1. Be sure that it is safe to jump start the car
Modern cars aren’t as straightforward as older models. Many newer cars have electronic components and computers that can be damaged. So be sure to check the owner’s manual before digging out your cables.
2. Make sure both vehicles are in park and turned off
Be sure both cars are turned off, in park, and have the emergency brake engaged. Unless you have a long set of cables, you’ll need to position the cars nose to nose. To reach the battery, you’ll have to open the hoods of both cars and if one of the rolls, you could be trapped between them. It is critical that both cars are turned off. While 12-volts isn’t a lot of power, it is enough to shock you or to spark a fire.
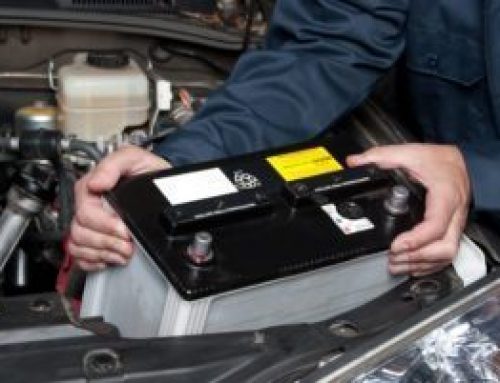
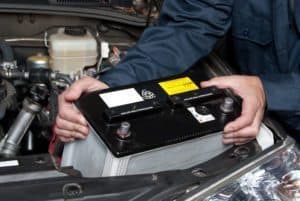
3. Locate the 12-volt battery
Finding a car’s battery used to be more straightforward, but today’s alternative fuel and hybrid vehicles have multiple batteries, and the ignition battery is not always easy to find. Nearly all cars have either a 12V battery under the hood or a post that you can use instead. If you don’t see a battery under the hood, look for a box labeled +12V and check inside for a post (usually under a red cover).
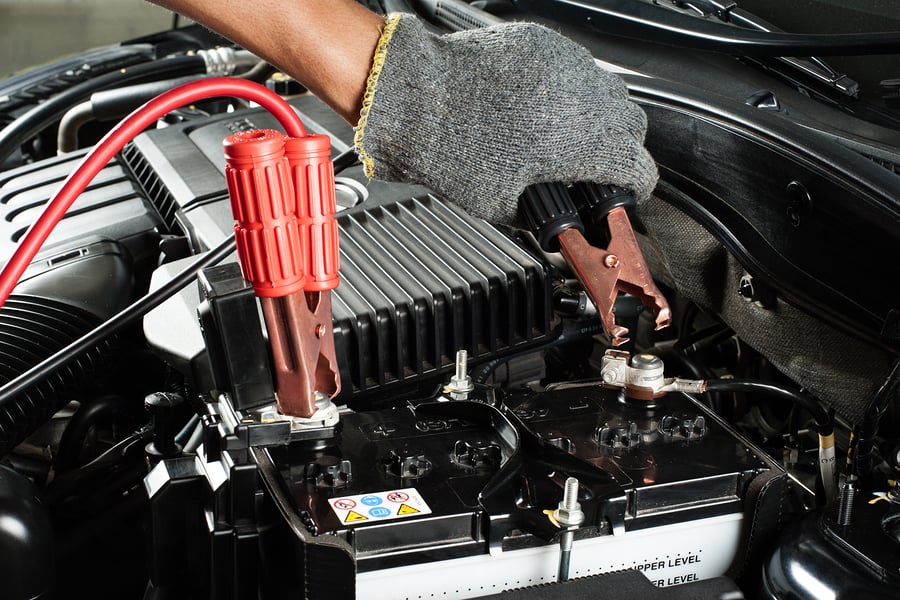
4. Attach the positive (red) clamps
If both vehicles are turned off, it’s safe to connect the jumper cables in nearly any order, but the proper way is to connect one of the positive clamps to the dead battery first, then connect the other positive clamp to the working battery.
5. Attach the negative (black) clamps
The negative clamps aren’t as straightforward as the positive clamps. You will connect one end of the black cable to the working battery, but do not connect the black cable to the dead battery. Instead, ground it by clamping onto an unpainted metallic part of the engine, frame or chassis.
6. Start the donor vehicle
Double check that the clamps are secure and connected properly then start the running (donor) vehicle. Let the engine run for a few minutes before attempting to start the stalled (recipient) vehicle.
7. Start the recipient vehicle
Once the engine has run for a few minutes, try starting the stalled vehicle. If it doesn’t start, double check the connections then wait a few minutes longer. Old or cold batteries can take time to charge so you might need to wait 5 or 10 minutes. Revving the engine of the running vehicle can help.
8. Disconnect the cables
Disconnect the cables in the opposite order that you connected them. Start by removing the black ground on the recipient car followed by the black clamp on the donor battery. Then remove the red clamp from the donor car followed by the red clamp on the recipient car. Be careful to keep the clamps from touching each other until they are all completely disconnected. If they touch while there is current running through them, they will spark, and they can start a fire.
9. Let the vehicle run for a while
Once the stalled vehicle is running, do not turn off the engine right away. The battery will still need to charge up, but you can let your vehicle’s engine charge it. It’s best to stay put and let it run for a while before pulling out into traffic.
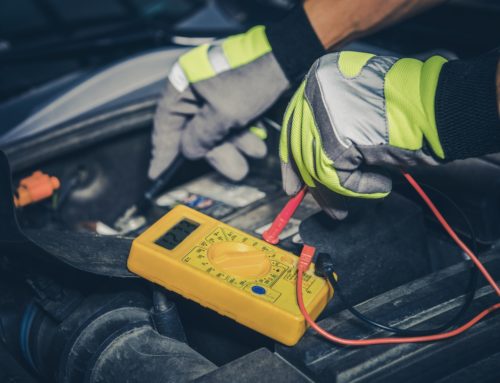
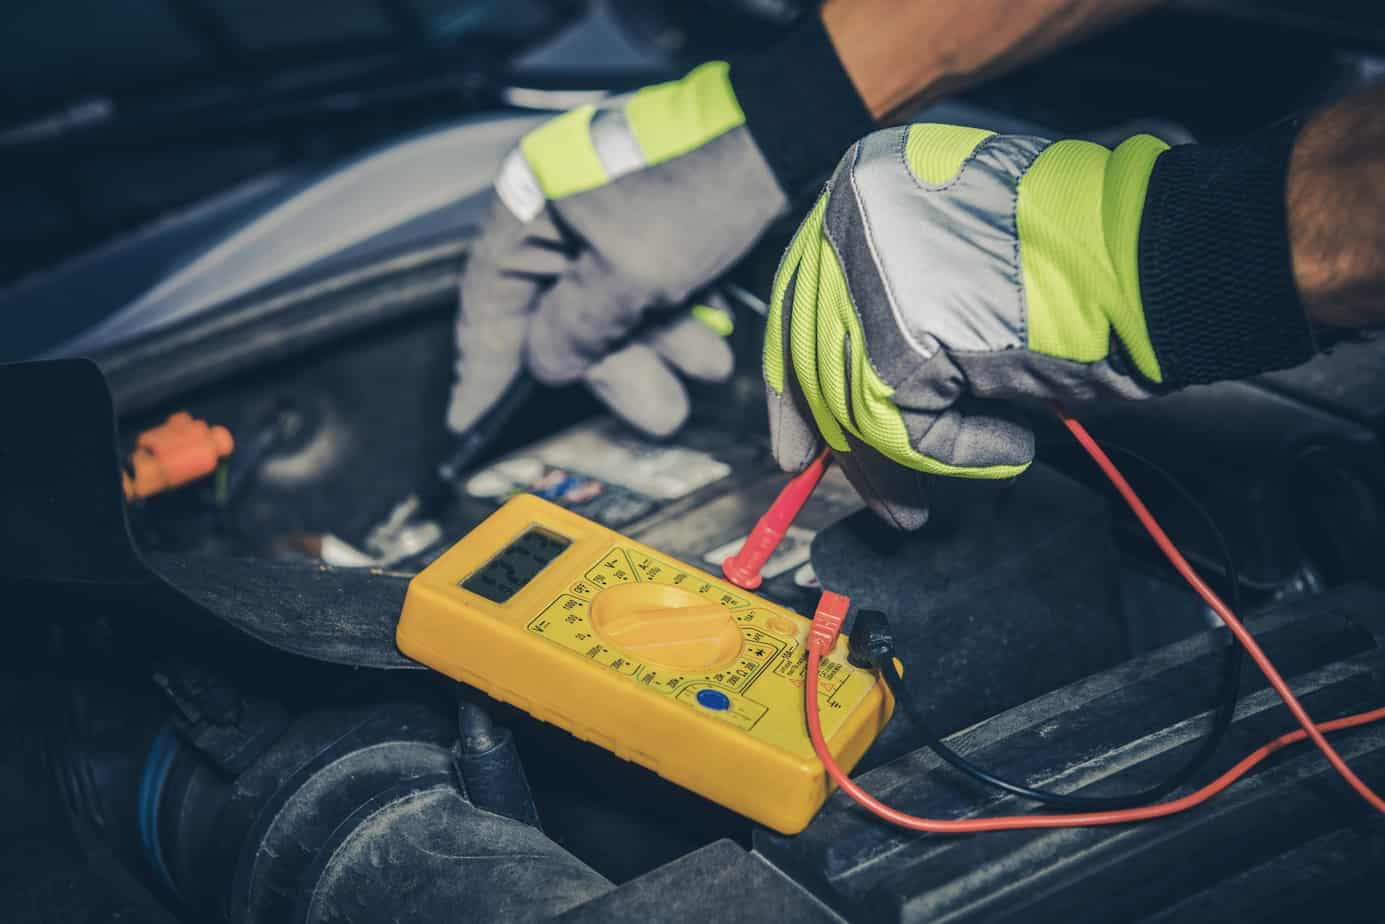
10. Have your battery checked
It’s always a good idea to have your battery checked by a mechanic if it has failed for any reason. There are a lot of reasons why a battery might lose charge and having yours checked can keep you from getting stranded in the future.


Leave A Comment